
We offer a wide collection of free, high-quality printable coloring pages for kids and adults. From cute animals to intricate mandalas, our designs bring creativity and relaxation to everyone. Download, print, and start coloring today!
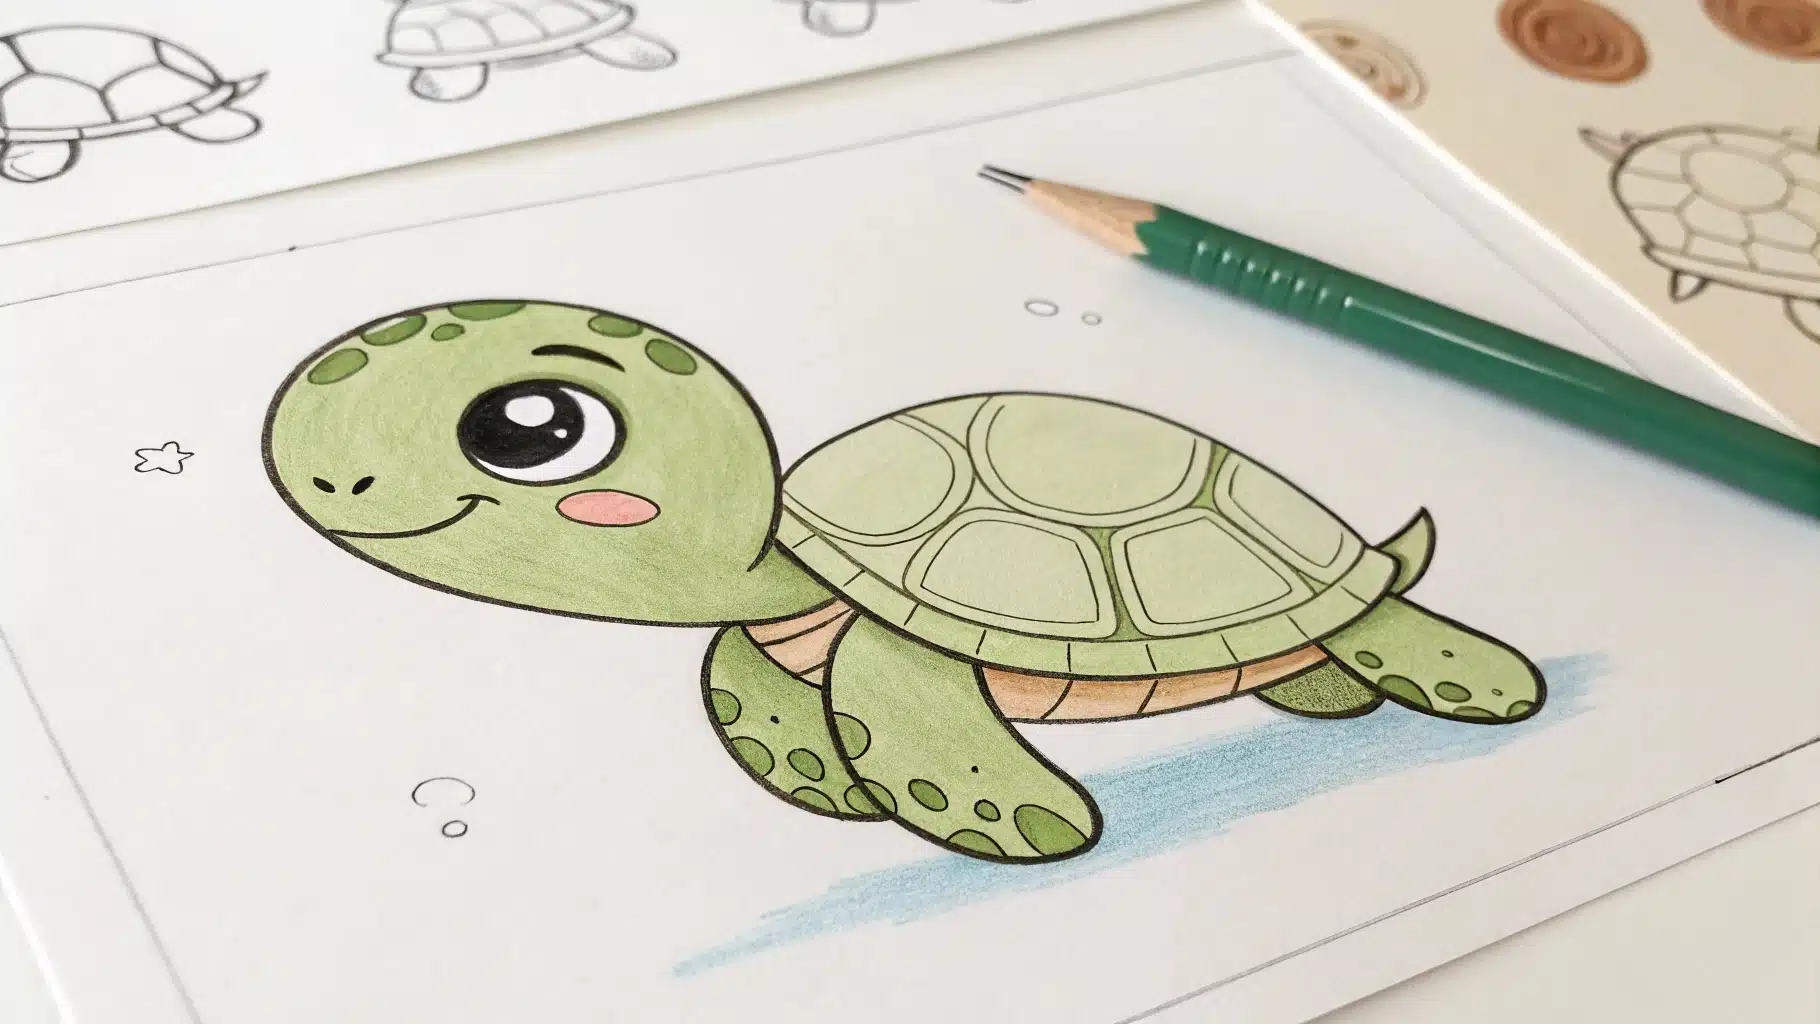
Table of Contents
Complete Step-by-Step Guide
Drawing is one of life’s most accessible and rewarding creative activities, and learning how to draw a simple turtle is the perfect starting point for beginners and children alike. This comprehensive guide will walk you through the entire process of creating an adorable turtle drawing, from basic shapes to adding personality with colors and details.
Why Learn to Draw a Simple Turtle?
Turtles make excellent subjects for beginning artists because they combine simple geometric shapes with charming character. Their distinctive shell pattern, gentle expressions, and straightforward body structure provide an ideal foundation for developing fundamental drawing skills. Whether you’re teaching children, improving your own artistic abilities, or looking for a relaxing creative activity, this turtle drawing tutorial will help you create something wonderful in just a few easy steps.
Materials You’ll Need
Before we begin our turtle drawing journey, gather these basic supplies:
- Paper: Any drawing paper or even regular printer paper works perfectly
- Pencil: A standard HB or 2B pencil for sketching
- Eraser: For corrections and refining your drawing
- Black marker or pen: For outlining (optional)
- Colored pencils, markers, or crayons: For adding vibrant colors to your finished turtle
The beauty of this tutorial lies in its simplicity – you don’t need expensive art supplies to create a delightful turtle drawing that you’ll be proud to display.
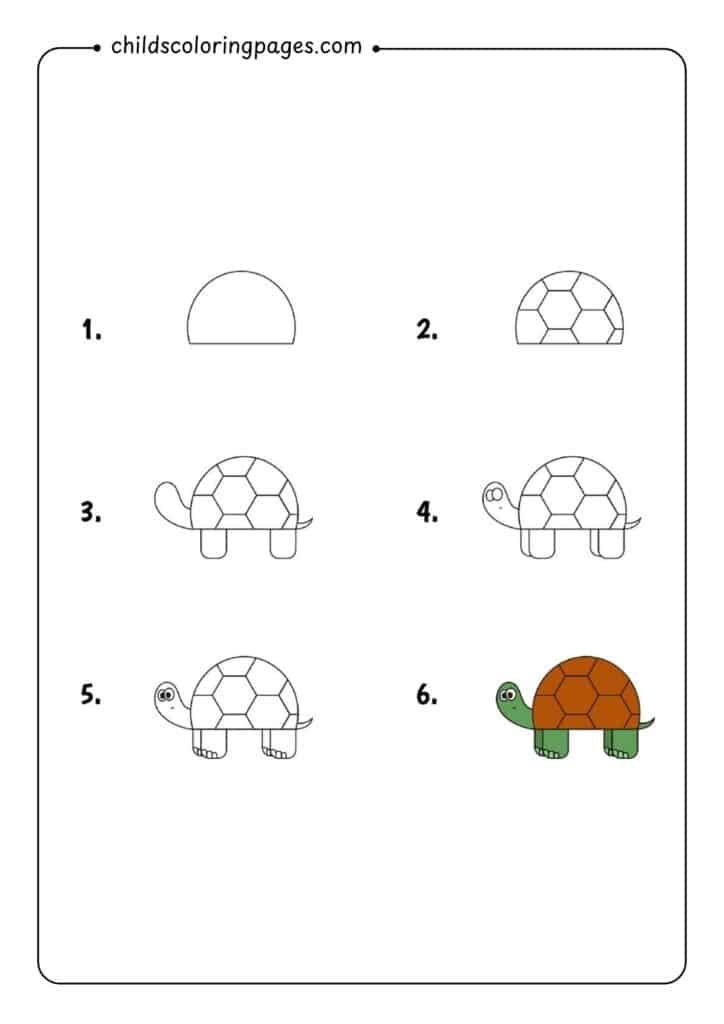
Step 1: Drawing the Basic Shell Shape
Every great turtle drawing begins with the shell, which forms the foundation of our friendly reptile. Start by drawing a large semicircle in the center of your paper. This semicircle should take up roughly one-third of your drawing space, leaving plenty of room for the turtle’s head, legs, and tail.
Make sure your semicircle is smooth and even. Don’t worry if it’s not perfect – the charm of hand-drawn art often lies in its slight imperfections. The flat bottom of the semicircle will rest on an imaginary ground line, while the curved top represents the dome of the turtle’s protective shell.
This initial shape is crucial because it determines the overall proportions of your turtle drawing. A wider semicircle will give you a broader, more stable-looking turtle, while a narrower one creates a taller, more elongated appearance.
Step 2: Adding the Hexagonal Shell Pattern
Now comes the fun part – creating the distinctive hexagonal pattern that makes a turtle’s shell so recognizable. Inside your semicircle, draw a series of hexagons (six-sided shapes) that fit together like puzzle pieces. Start with one central hexagon near the top of the shell, then add surrounding hexagons that share edges with the central one.
Don’t worry about making perfect hexagons – slightly irregular shapes actually look more natural and add character to your drawing. The key is to create a honeycomb-like pattern that fills most of the shell area. You’ll typically need about 6-8 hexagons total, depending on their size and how they fit within your semicircle.
This hexagonal pattern is what transforms a simple semicircle into an instantly recognizable turtle shell. Each segment represents a scute, the individual plates that make up a real turtle’s shell.
Step 3: Creating the Turtle’s Body and Legs
With the shell complete, it’s time to bring your turtle to life by adding its body parts. Draw four small legs extending from underneath the shell. Each leg should be roughly rectangular or oval-shaped, representing the turtle’s sturdy limbs. Position two legs on each side of the shell, making sure they’re evenly spaced and proportional to the shell size.
The legs should be thick enough to look like they can support the turtle’s weight, but not so large that they overpower the shell. Think of them as small pillars that give your turtle stability and character.
Next, add a small, curved tail extending from the back of the shell. The tail should be subtle – just a small curved line that adds to the turtle’s overall form without drawing too much attention.
Step 4: Drawing the Head and Neck
The turtle’s head is where your drawing really comes to life. Draw an oval or slightly rounded shape extending from the front of the shell. This represents the turtle’s head, which should be proportional to the body – not too large or too small.
Connect the head to the shell with a short neck. The neck can be represented by two simple curved lines that create a smooth transition between the head and shell. Remember that turtles can retract their heads, so the neck doesn’t need to be very long.
Position the head so it appears to be looking slightly forward or to one side, which gives your turtle a more dynamic and lifelike appearance.
Step 5: Adding Facial Features and Expression
Now for the most delightful part – giving your turtle personality through facial features. Draw two small circles for eyes, positioning them on the upper part of the head. Make the eyes fairly large relative to the head size, as this creates a friendlier, more appealing expression.
Inside each eye circle, add a small dot or filled circle for the pupil. You can position the pupils to make your turtle appear to be looking in a specific direction, which adds character and life to your drawing.
Consider adding small curved lines above or below the eyes to suggest eyelids or expression lines. A gentle curve below each eye can create the impression of a smiling turtle, while small lines above might suggest concentration or contentment.
For the mouth, draw a small curved line that suggests a gentle smile. Turtles naturally appear to be smiling due to the shape of their beaks, so embrace this friendly characteristic in your drawing.
Step 6: Adding Color and Final Details
The final step transforms your line drawing into a vibrant, finished artwork. Traditional turtle coloring includes various shades of green for the head, neck, legs, and tail, with browns and oranges for the shell. However, don’t feel limited by realism – artistic license allows for creative color choices that reflect your personal style.
For a natural look, try using different shades of green for the turtle’s skin. Light green works well for the main body parts, while darker green can be used for shadows and depth. The shell can be colored in warm browns, oranges, or even earth tones that create visual interest.
If you’re working with children or prefer a more whimsical approach, consider using bright, cheerful colors like purple, blue, or rainbow patterns. The goal is to create something that brings joy and satisfaction.
Tips for Success
Practice makes perfect: Don’t expect your first turtle to be magazine-worthy. Each attempt will improve your skills and confidence.
Observe real turtles: Look at photos or visit turtles in person to understand their proportions and characteristics better.
Experiment with expressions: Try drawing your turtle with different eye positions or mouth curves to create various moods and personalities.
Add backgrounds: Once you’ve mastered the basic turtle, try adding simple backgrounds like grass, water, or rocks to create a complete scene.
Use guidelines lightly: Draw initial shapes with light pencil strokes so you can easily erase and adjust as needed.
Common Mistakes to Avoid
Many beginning artists make the shell too small relative to the body, or draw the legs too thin to believably support the turtle’s weight. Remember that turtles are sturdy creatures, and your drawing should reflect that stability.
Another common issue is making the head too large or too small. The head should be roughly one-quarter the size of the shell for proper proportion.
Conclusion
Learning how to draw a simple turtle opens the door to countless creative possibilities. This foundational skill can be adapted and expanded to create more complex drawings, different turtle species, or even cartoon-style characters. The step-by-step approach ensures that artists of all skill levels can achieve satisfying results while building confidence in their artistic abilities.
Whether you’re teaching children, exploring art as a hobby, or simply looking for a relaxing creative activity, turtle drawing provides an perfect combination of simplicity and charm. With practice, patience, and creativity, you’ll soon be creating turtle drawings that bring smiles to faces and pride to your artistic portfolio.
Remember, every master artist started with simple shapes and basic techniques. Your turtle drawing journey begins with a single semicircle and grows into a delightful creative adventure that can last a lifetime.